
In this post we’re going to roughly show you how to build a wood vermicomposting bin.
I’ve picked up some old wood with no use here from the neighborhood and turned it into a woodworking work of art 🙂
I only had to buy two sides and the base (plywood) because I haven’t found enough wood for everything, but I will say that more than 90% is recycled materials.
The vermicomposting bin has three drawers plus the receiver for the liquid fertilizer. Because the idea was to put organic waste from the garden and organic waste from the kitchen, I built a bin slightly larger than what I’ve seen on the internet.
Measures
3 Boxes / Trays:
Length: 50cm
Width: 80cm
Height: 25cm
1 Coated Receptor:
Height: 11cm
Materials
Madeiras
Wide steel mesh / Plastic mesh
Plastic sleeve
1 Tap
Here is the final work


View of the 1st box and liquid receptacle. Probably this mesh needs to be thinner than the mesh used in other boxes to prevent the fall of too much worm humus in the receiver, but for now I will try it as is.

To waterproof the liquid fertilizer receptacle, I used plastic sleeve, fixed on top with broad-headed nails, applied diagonally in direction to the tap, which was sealed and secured with silicone glue.

Today my california worms arrived from ecominhocas. I prepared the top tray with waste that I had to dry / rotten. The first layer is composed of dry leaves, green and some paper to cover the mesh.

Then I filled with stiffer material (remnants of tomatoe plants, etc. ..) that I shopped to accelerate the decomposition process.
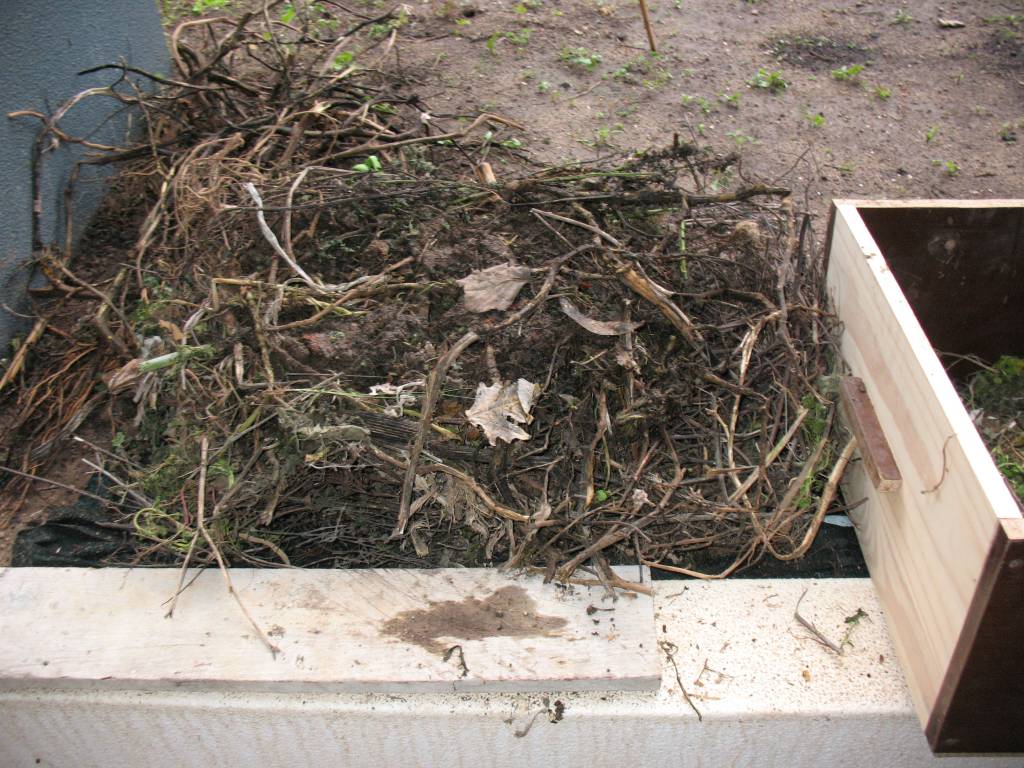
In the end I’ve put the worms and the earth they came in, on top of everything. As the drawer was only half full, I plan to lay the kitchen leftovers on top of this layer.

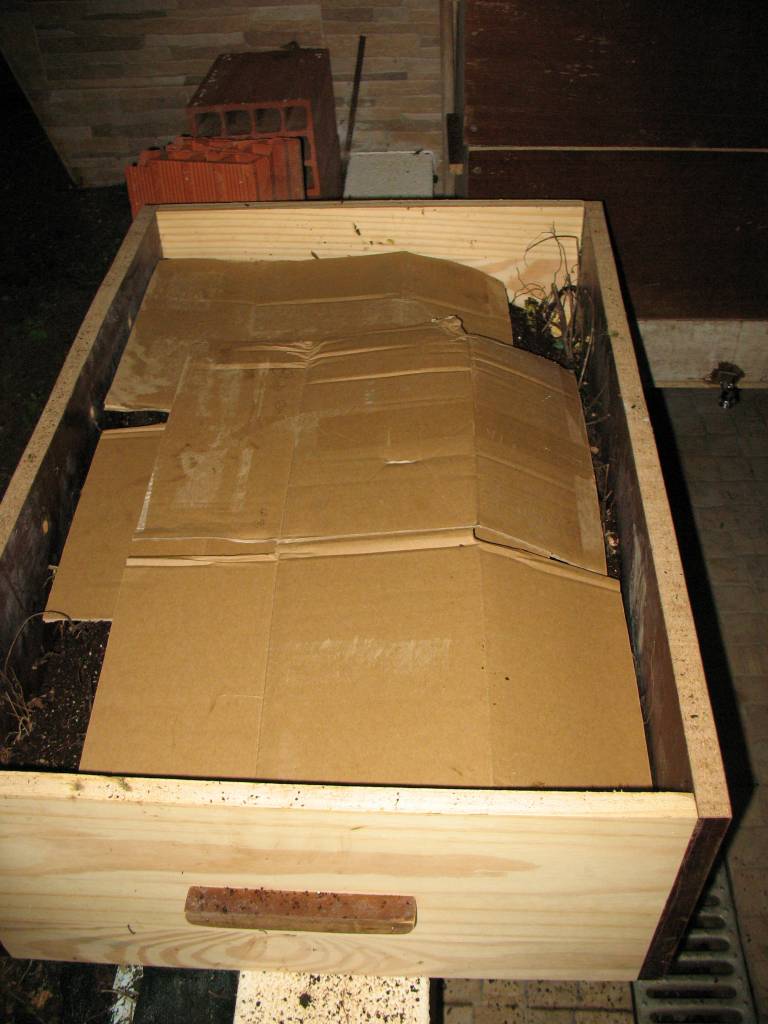
Instead of cardboard I will try to get some foam with the right measures to cover the drawer in full so that it doesn’t attracts mosquitoes and maintains the humidity and temperature.
I started with 1 kg of worms which will reproduce and double the number, so that I can have the vermicomposting bin at 100% use.
Now as I get more experienced in vermicomposting, I’ll see if I need to do some tuning to the composter, what works best, and worst, but I think it suits its purpose perfectly.
I hope you have as much fun as I had making the composter and playing with the worms 🙂


